How to Install and Use GitHub Copilot CLI: A Complete Guide (2025)
Step-by-step guide on how to install and use the official GitHub Copilot CLI. Learn the correct npm installation, setup, and see practical examples for shell, Git, and more.
Meet your terminal's new sidekick. GitHub has officially brought its powerful AI assistant, the GitHub Copilot CLI, to the command line. Currently in public preview, this tool is a standalone application that integrates an AI agent directly into your terminal, allowing you to build, debug, and refactor your code using natural language.
This guide will walk you through the correct way to install and use the official, npm-based Copilot CLI.
Key Features
The Copilot CLI is more than just a command generator; it's an AI partner for your terminal designed to help you code faster, smarter, and together.
- Agent-Powered and GitHub-Native: Access repositories, issues, and pull requests using natural language. The CLI knows your project context, allowing for truly repository-aware conversations.
- Build, Edit, and Debug Faster: Collaboratively build, edit, debug, and refactor code. Copilot CLI can execute tasks, edit files, and help you iterate without leaving the terminal.
- Collaboration with Full Control: Every file change and command requires your explicit approval, so you always stay in control. It also inherits your organization's existing Copilot governance policies, ensuring security and compliance.
Prerequisites
Before you begin, make sure your system meets the following requirements:
- Node.js: Version 22 or higher.
- npm: Version 10 or higher.
- PowerShell (for Windows users): Version 6 or higher.
- An active GitHub Copilot Subscription: You must have a Copilot Pro, Pro+, Business, or Enterprise plan.
Installation and Setup
Getting started is simple. The Copilot CLI is distributed as an npm package.
Step 1: Install the Package Globally
Open your terminal and run the following command to install the Copilot CLI globally on your system:
example.sh1npm install -g @github/copilotBASHUTF-8
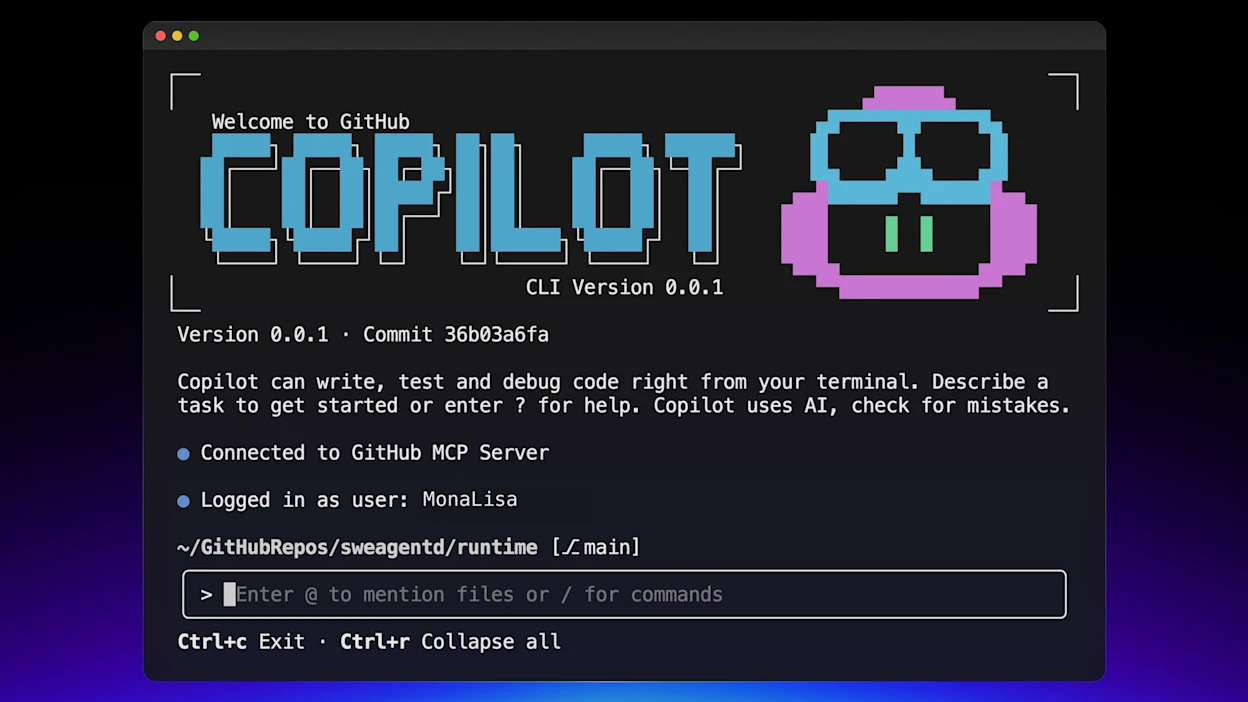
Step 2: Launch and Authenticate
Once the installation is complete, simply run the copilot command in your terminal:
example.sh1copilotBASHUTF-8
On the first launch, it will prompt you to authenticate with your GitHub account. You will be asked to use the /login command, which will guide you through the browser-based authentication process to verify your Copilot subscription.
How to Use the Copilot CLI
Unlike a gh extension, the Copilot CLI provides an interactive, agentic shell. You launch it once and then give it instructions in plain English. It maintains context within your session and your current working directory.
- Navigate to your project's root directory:
cd /path/to/your/project - Launch the Copilot CLI:
copilot - Once the Copilot prompt (
>) appears, simply type what you want to do.
Practical Examples
Example 1: Finding Files
Instead of trying to remember the syntax for find, you can just ask Copilot.
> find all files larger than 10MB in the current directory
Copilot will analyze your request, propose the correct shell command, and ask for your approval before executing it.
Example 2: Complex Git Operations
Need to perform a tricky Git operation? Just describe it.
> find all commits by 'Ufuk Ozen' in the last month with the message 'refactor'
Copilot will generate the appropriate git log command for you.
Example 3: Running a Docker Container
Describe the container you want to run.
> run a new nginx docker container named my-nginx, map port 8080 to 80, and mount the current directory's html folder
Copilot will construct the docker run command with all the specified flags and volumes.
The GitHub Advantage: Deep Integration
What truly sets the Copilot CLI apart from other terminal AI tools is its deep integration with GitHub. Because it's authenticated with your account, it is repository-aware, allowing you to ask questions and perform actions related to your specific projects.
For example, you can ask it to:
"list the open issues assigned to me""how many pull requests do I have open?""show me my unmerged pull requests"
Beyond simple lookups, you can perform complex aggregations and ask analytical questions about your project's history, such as:
"who has fixed the most bugs in the last month?""who contributed the most new code to the main branch?"
This capability transforms the CLI from a simple command generator into a true project-aware assistant.
Advanced: Switching AI Models
The Copilot CLI defaults to using Claude Sonnet 4. However, you can switch to other models like GPT-5 by setting the COPILOT_MODEL environment variable when launching the tool:
example.sh1COPILOT_MODEL=gpt-5 copilotBASHUTF-8
Why This Is a Game-Changer
The official GitHub Copilot CLI is a powerful AI agent that lives in your terminal. It streamlines development by enabling you to code faster, smarter, and together.
- Less Setup, More Shipping: Spend less time looking up obscure syntax and more time building what matters.
- Seamless Workflow: Stay focused in your terminal without the constant context-switching between your editor, browser, and other tools.
- Autonomous Task Execution: Handle complex, multi-step implementations from a single natural language prompt, letting the AI do the heavy lifting.
This tool is a significant step towards a more intuitive and efficient development workflow. Install it today and experience the future of the command line.
Official Repository
For more information, to report issues, or to explore the source code, visit the official GitHub repository: